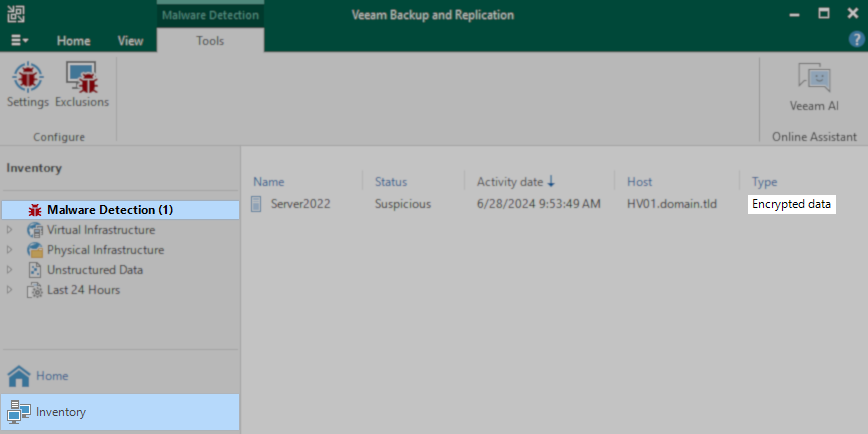
How to Investigate 'Encrypted Data Event' from Malware Detection
Purpose

Solution
Identify Malware Detection Event ID
The Find Encrypted Data script requires the user to provide the Malware Detection Event ID to investigate.
The following PowerShell script can be used to output a list of recent Malware Events:

Run the Find Encrypted Data PowerShell Script
With the Event ID to be investigated now identified, pass that guid to the find-encrypted-data.ps1 script:

How It Works
- The script compares the ransomware index (ridx) file of the restore point associated with the malware event ID provided and the ridx from the prior restore point to determine which disk offsets should be investigated.
- The script then mounts the restore point for investigation and checks the files associated with the offsets identified in Step 1.
- Each file associated with the suspect offset is checked to determine how much encryption is present in the file's first megabyte (default).
- The file path, its offset, and the percentage of encryption in the first 1MB are then output to the results CSV.
Considerations and Limitations
- The results files are named after the GUID of the machine's disk being investigated. If the script is run multiple times for the same machine, the results of a previous script run will be overwritten. If you are investigating multiple malware events across different restore points, copy the results CSV file from earlier runs to a different location for later review.
- A file being present in the results CSV does not mean it was maliciously encrypted; it is merely that the file existed at an offset where encryption was detected. Environments that use file encryption often may receive false positive alerts and should adjust the Encryption Detection sensitivity as needed.
Review Results CSV File
The find-encrypted-data.ps1 script will create a subfolder named "output" and write the results CSV file into that folder.
Example: {b20c3fe9-927c-4aca-b4f4-d93b1ecdab9b}_Volume0_result.csv
Open the CSV file in a spreadsheet editor or plain text editor and review the results.
As this tool only checks for encryption within the first MB of a file, false positives may occur, and a manual review by an administrator is necessary to determine whether a file has been impacted by malware/ransomware.

Download Information
To report a typo on this page, highlight the typo with your mouse and press CTRL + Enter.