Veeam ONE Web Client Fails to Load With: ERR_SSL_KEY_USAGE_INCOMPATIBLE
Challenge
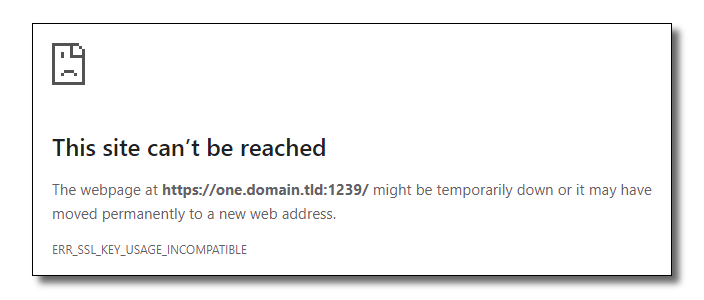
When attempting to load the Veeam ONE Web Client website using Chrome, the page fails to load with the error:
This site can't be reached
The webpage at https://<fqdn>:<port>/ might be temporarily down or it may have moved permanently to a new web address.
ERR_SSL_KEY_USAGE_INCOMPATIBLE

Cause
This error occurs when the certificate the site uses has KeyUsage values defined, but the value Digital Signature is not specified.
This may occur because the user-provided SSL certificate is missing the Digitial Signature keyusage, or if the self-signed SSL certificate used by either product was reused from an older version.
Veeam ONE
- In Veeam ONE 11 and older, the self-signed certificate generated by the installer was created with the following:
KeyUsage: Key Encipherment, Data Encipherment - Starting in Veeam ONE 11a, the self-signed certificate generated by the installer is created with:
KeyUsage: Digital Signature, Non-Repudiation, Key Encipherment, Data Encipherment
Solution
Generate a New "Veeam ONE Website self-signed certificate"
On the machine where the Veeam ONE Web Services component is installed, open an Administrative PowerShell Console and run the following PowerShell script:
Note: The Veeam ONE Web Services are installed on the machine that you connect to when opening the Veeam ONE Web Client.
Assigning the New Certificate to the Site
With a new certificate imported or generated using the steps above, perform the following steps to assign that certificate to the site within IIS Manager.
- Open Internet Information Service (IIS) Manager (InetMgr.exe).
- Expand the node for the server's name.
- Expand the Sites node.
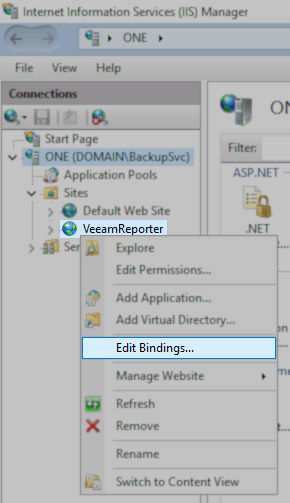
- Right-click the VeeamReporter entry, and select Edit Bindings...

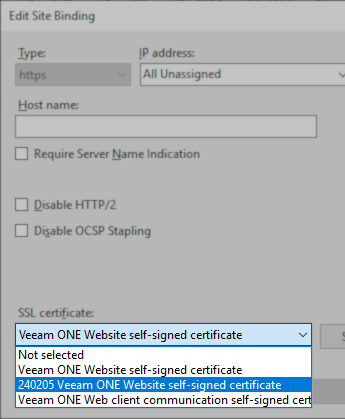
- In the Site Bindings window, double-click the https entry.

- Using the SSL certificate drop-down box, select the new certificate.
Note: The self-signed certificate generation script on this KB adds a datestamp prefix to the new certificate's name for easy identification:
"yymmdd Veeam ONE Website self-signed certificate"

- After selecting the new SSL certificate, click OK to close the https site binding settings, then close the Site Bindings window with the close button.
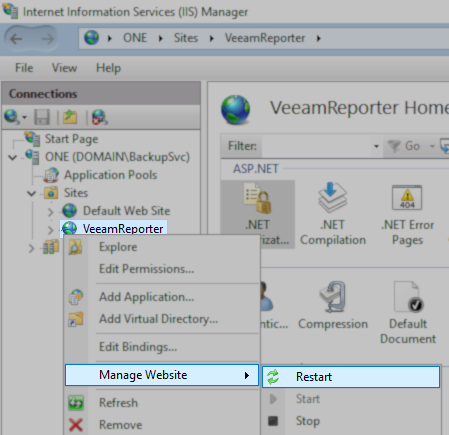
- Right-click the site, and from the Manage Website sub-menu, select Restart.

To report a typo on this page, highlight the typo with your mouse and press CTRL + Enter.