How to Set Custom VLAN ID in Recovery Media
Purpose
This article documents how to configure the Veeam Agent for Microsoft Windows Recovery Media to use a specific VLAN ID.
Use Case:
- You need to access a repository located in a different VLAN than the original machine was using.
Solution
Because the Recovery Media is based on WinPE, which lacks tools to set the VLAN ID via PowerShell or a UI, modifications must be made manually via the registry.
- Boot from Recovery Media.
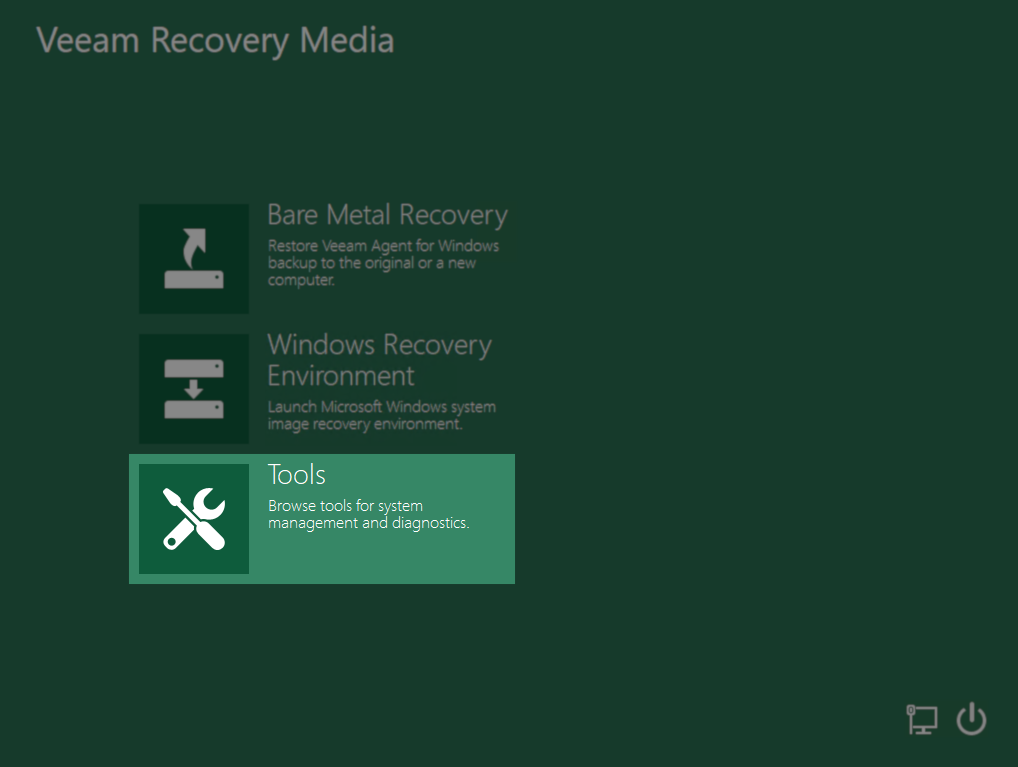
- Click the Tools tile.

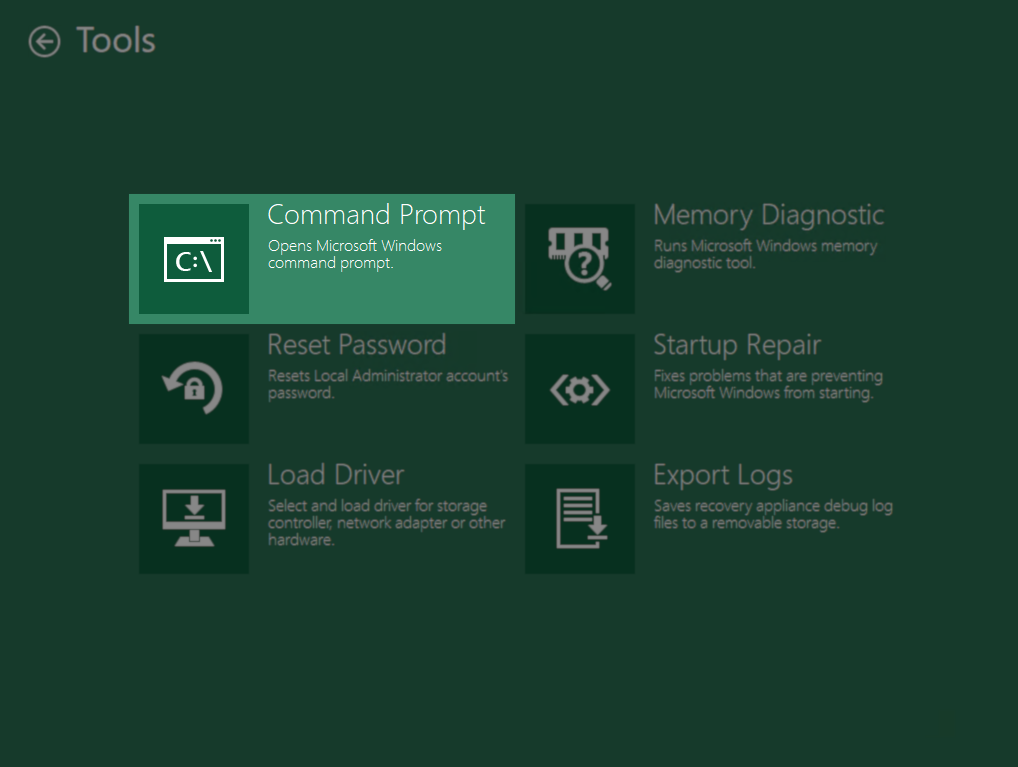
- Click the Command Prompt tile.

- Execute the command: regedit

- Navigate to the following registry key:
HKEY_LOCAL_MACHINE\SYSTEM\CurrentControlSet\Control\Class\ {4d36e972-e325-11ce-bfc1-08002be10318}
This GUID is the system-defined GUID for Network Adapters. - Within that key will be subkeys (e.g., 0000, 0001) for each NIC. Review each and identify the 000x subkey that belongs to the NIC that needs to have a VLAN ID assigned.
If you do not see the NIC, make sure that the NIC driver is installed (Tools > Load Driver). - Within the NIC's subkey, create a new String Value.

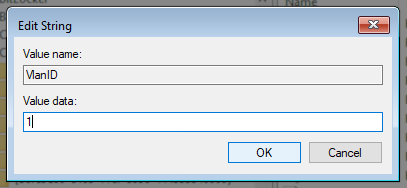
- Name the String Value: VlanID
- Set the 'Value data' to the VlanID.

- Close the Registry Editor.
- Return to the Command Prompt and enter the following command to reinitialize the NIC:
Tip: Use 'netsh int show int' to list network interface names.netsh int set int <InterfaceName> disabled
netsh int set int <InterfaceName> enabled

To submit feedback regarding this article, please click this link: Send Article Feedback
To report a typo on this page, highlight the typo with your mouse and press CTRL + Enter.
To report a typo on this page, highlight the typo with your mouse and press CTRL + Enter.